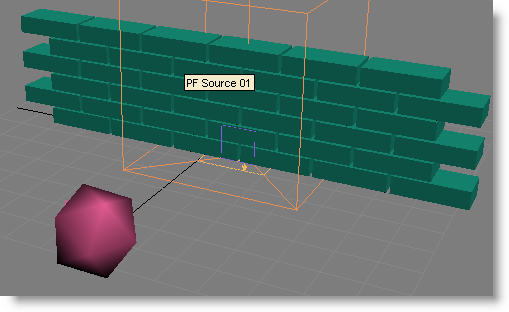
Another useful PhysX Glue option is Bind Center Aligned Only, which creates bindings based on alignment among particles in addition to proximity. With the current arrangement of particle bricks, this would be difficult to see because each brick is aligned with its neighbors, so you'll rearrange the layers slightly.
-
Click the Birth Group operator and then click Unhide to reveal all the mesh shapes used to generate the particles. Then turn off Birth Group so you can see the boxes more easily.
-
Starting with the bottom row, select each alternating row of boxes, and then move them 10 units to the right so each brick is offset from its vertical neighbors by half its length.
This, of course, is how real-world brick walls are constructed. Also, in the real world, half-bricks are used to fill in the gaps, but that won't be necessary for this tutorial. In fact, in this section you'll make the bricks act like planks, further proving that in the virtual world, anything is possible.
-
Reactivate the Birth Group operator.
The particles are still in their original positions. If you change the particle objects (the boxes), you need to update Birth Group manually.
-
Under the Particle Objects list, click Update Particle From Objects, then hide the particle objects again.
-
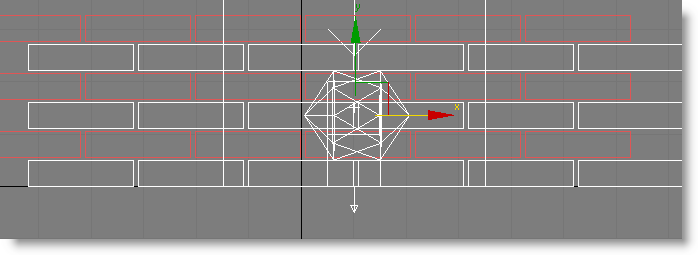
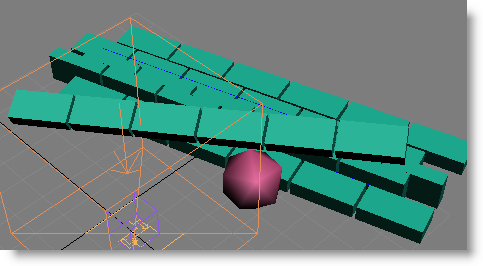
Click the PhysX Glue test, and with Visualize Binding on, set Bind Distance to 30.
You can see more connections now, mainly because of the offset alternate layers. There were as many before, but now they go diagonally to get to the nearest brick, whose horizontal position is offset.
-
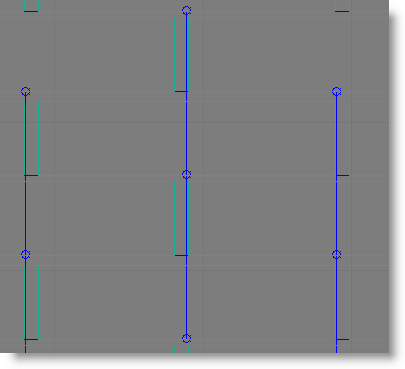
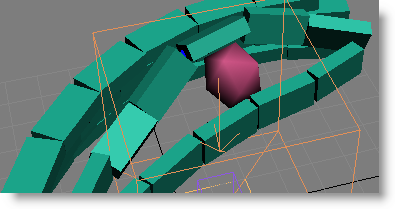
Turn on Bind Center Aligned Only.
This eliminates all the diagonal bindings by allowing PhysX Glue to bind only to particles whose local axes are aligned with each other. So bindings can go only at right angles (the way the axes line up), not diagonally.
If you look closely, you can see the horizontal bindings between neighboring particles and the vertical bindings between particles in alternating layers. To create the plank effect, you use a third setting to eliminate the latter.
-
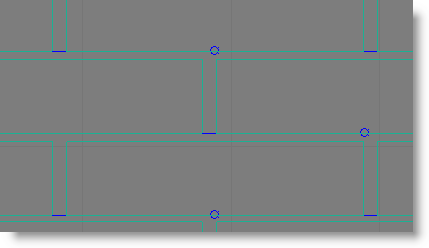
Turn on Bind Gap.
Bind Gap eliminates bindings beyond the specified distance, so the long-distance bindings between alternating vertical layers, which are much longer than the specified Bind Gap value of 1.0, are no longer enabled. You're left with horizontal bindings only, which provide the desired plank effect.
-
Play the animation.
The ball breaks up the bricks in such a way that it's obvious that they're really planks.
Before moving on to the final lesson, you'll take a quick look at one more Glue setting that enables flexible bindings.
-
Rewind the animation, and set the PhysX Glue > Type parameter to Distance.
The Distance binding type allows more flexible bindings.
-
Play the animation again.
The planks still hold together, but bend upon impact from the ball, as if they're connected with strings rather than hardware. The Distance option can produce interesting simulations such as cloth and beaded curtains; you'll find some examples of these in the included sample files.
-
Set the binding type back to Rigid.